Transform your backyard into a relaxing retreat without breaking the bank – perfect for weekend warriors and first-time DIYers!
Introduction: Making Outdoor Dreams Affordable
Let’s face it – we’ve all scrolled through those gorgeous backyard transformations on Pinterest, sighing at the thought of what they must cost. I know I have! After getting a $8,000 quote from a contractor to install a simple patio in my modest backyard, I decided to take matters into my own hands. Three weekends, some sore muscles, and about $1,200 later, I had a beautiful DIY patio that’s become our family’s favorite spot to unwind.
Building your backyard patio doesn’t have to be intimidating or expensive. With some planning, basic tools, and a bit of sweat equity, you can create an outdoor living space that rivals those professional installations. The best part? When friends ask about your gorgeous new patio, you’ll get to say, “I built it myself,” which brings a satisfaction that no store-bought solution can match.
In this guide, I’ll walk you through everything I learned during my DIY patio project – from initial planning to final decorating touches. I’ve made all the mistakes, so you don’t have to! Whether you have a tiny urban backyard or a sprawling suburban lot, these budget-friendly techniques will help you create an outdoor retreat that’s perfect for morning coffee, family barbecues, or starlit evening conversations.
Planning Your Budget-Friendly Patio
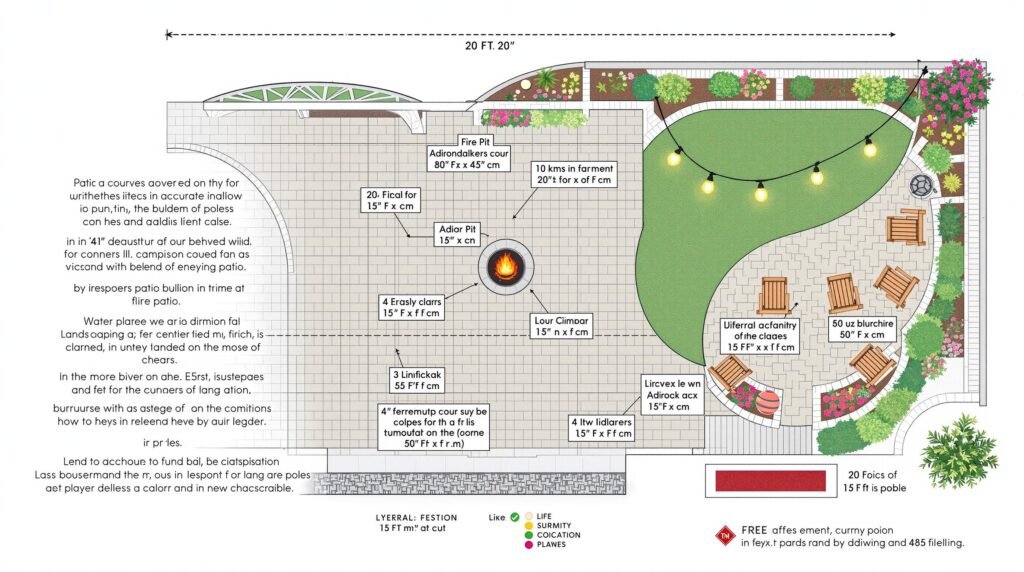
Before you grab a shovel and start digging, take some time to plan. This upfront work saved me countless headaches (and trips to the hardware store).
Assess Your Space
First things first – what are you working with? Grab a measuring tape and map out your yard. Consider these questions:
- How much square footage do you want to convert to patio space?
- Does the area get full sun, partial shade, or complete shade? This affects both material choices and future plant selections.
- Are there any slopes or drainage issues you need to address?
- What’s the access like? Can you get wheelbarrows full of materials to the site easily?
Our south-facing backyard was relatively flat but had poor drainage in one corner. I ended up adjusting my initial design to be slightly elevated in that area, which solved the problem without requiring expensive drainage solutions.
Choose Affordable Materials
The biggest budget decision you’ll make is patio materials. I researched several options and found some surprising ways to save:
Concrete Pavers: These were my choice. At $2-$5 per square foot, they’re one of the most economical options while still looking great. I found a local supplier selling last year’s inventory at a 30% discount – always ask about sales or clearance items!
Gravel or Crushed Stone: At $1-$2 per square foot, this is the ultimate budget option. Modern designs can make gravel look intentional and high-end rather than like a budget compromise.
Brick: Reclaimed bricks can be incredibly affordable if you have access to them. Check Marketplace, Craigslist, or local demolition sites. My neighbor found enough free bricks from a local renovation to create her entire patio.
Concrete: While pouring a concrete slab might seem expensive, at $6-$10 per square foot for a DIY pour, it can be cost-effective for larger spaces since it’s durable and requires less maintenance.
Pro tip: Always calculate materials for about 10% more than your measured area. This accounts for cuts, breaks, and design adjustments.
Gather Budget-Friendly Tools
You don’t need professional equipment to build a great patio. Here’s what I used:
- Shovel and rake (borrowed from a neighbor)
- Wheelbarrow (rented for $20/day from a local hardware store)
- Tamper (made one using a flat piece of wood attached to a handle)
- Level (essential – don’t skip this!)
- String and stakes for layout
- Rubber mallet
- Utility knife
- Work gloves
I saved over $200 by borrowing and renting tools instead of buying everything new. Don’t be shy about asking neighbors or family members – most people are happy to lend tools for a weekend project.
Step-by-Step Construction Process

Now for the fun part – actually building your patio! I broke this down into manageable weekend tasks.
Weekend 1: Site Preparation
This is where the heavy lifting happens, quite literally.
- Mark your patio area: Use stakes and string to outline your patio shape. I went with a simple rectangle with rounded corners, but you could try more creative shapes.
- Remove grass and topsoil: Dig out the area to a depth of about 6-8 inches. This was the most physically demanding part of the whole project. I started early in the morning before the heat kicked in and took plenty of breaks. My teenage son helped in exchange for adding extra money to his car fund – worth every penny!
- Level the area: Use a long, straight board with a level on top to check that your base is even. This step is crucial – an uneven base means wobbly pavers later.
- Add landscape fabric: This extra $30 investment prevents weeds from growing up between your pavers later. Trust me, you will be grateful in the future!
I made the mistake of trying to rush through this prep phase of my project. Don’t do what I did! Good preparation makes every subsequent step easier and results in a more professional-looking finished product.
Weekend 2: Creating the Base
A solid base is the secret to a patio that stays level for years.
- Add gravel base: Pour a 4-inch layer of gravel or crushed stone. This provides drainage and stability. Rent a plate compactor ($60/day), or use your homemade tamper to compact it thoroughly.
- Add sand layer: Pour a 1-inch layer of leveling sand over the gravel. This creates a smooth surface for your pavers.
- Level the sand: Use a long piece of pipe or wood as a screed to level the sand. Place the pipes on the base, pour sand between them, then drag a board across the pipes to create a perfectly level surface.
I found this YouTube video incredibly helpful: when I got stuck on the screeding technique, watching someone else do it made all the difference. Sometimes, visual references are worth a thousand words of explanation!
Weekend 3: Installing Pavers and Finishing
Now comes the rewarding part, where your patio really takes shape.
- Lay the pavers: Start at one corner and work your way out. Place each paver gently onto the sand bed, leaving a small gap (about 1/8 inch) between them.
- Check your pattern regularly: Step back every few rows to ensure your pattern looks right. It’s much easier to adjust early on than to redo a large section.
- Cut pavers as needed: For edges or curves, you may need to cut pavers. A masonry saw is ideal, but I used a less expensive method: scoring the paver with a chisel and then breaking it with controlled force.
- Add edging: Install plastic or metal edging around the perimeter to keep pavers from shifting.
- Sweep in joint sand: Pour fine polymeric sand over the patio and sweep it into the joints. This locks the pavers together while still allowing for minor movement and drainage.
- Spray with water: Follow the polymeric sand manufacturer’s instructions to activate it, usually by lightly misting the patio with water.
I’ll admit it – by Sunday afternoon of the third weekend, I was rushing to finish before dinner. Don’t do this! The final steps deserve the same care as the beginning. I had to redo some of my edge work the following weekend because I got sloppy.
Budget-Friendly Decorating Ideas
Now comes my favorite part – turning that patio into an outdoor living space without spending a fortune.
Furniture Finds
Outdoor furniture can be shockingly expensive, but there are ways around that:
- End-of-season sales: I bought my outdoor sofa in September at 70% off the regular price.
- Second-hand gems: Check Facebook Marketplace, estate sales, and thrift stores. I found vintage metal chairs for $5 each and spray-painted them a bright turquoise.
- DIY options: My husband built our outdoor coffee table from weather-resistant wood for under $50.
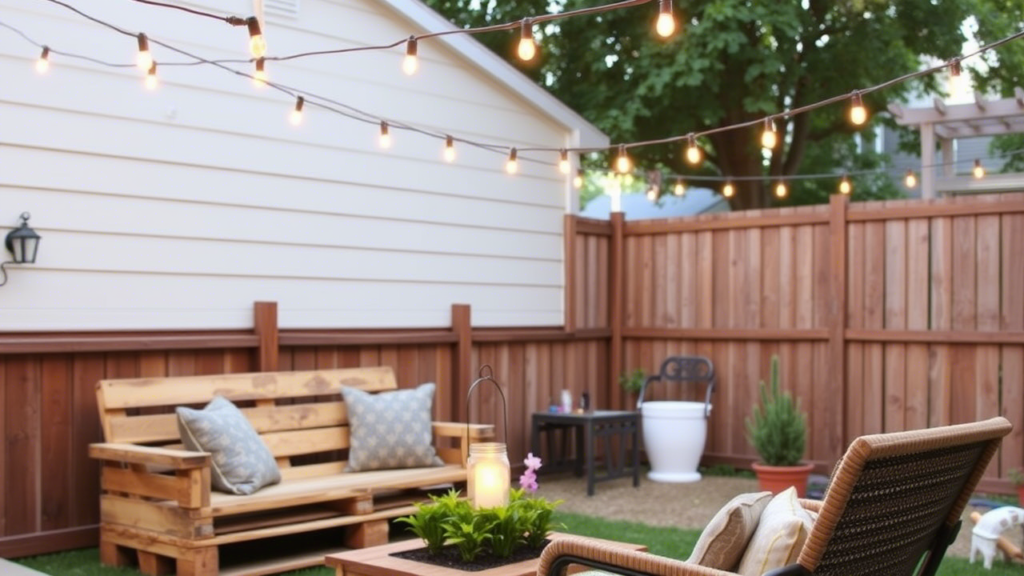
Lighting Magic
Good lighting extends your patio enjoyment into the evening and creates an amazing ambiance:
- Solar string lights: These cost me $25 and transformed the space. No wiring is needed!
- DIY lanterns: I made these from thrifted glass jars, some wire, and tea lights.
- Solar path lights: Stake these around the perimeter for both safety and style.
After a dinner party last month, my friend Jen asked who had installed our “professional” lighting system. She couldn’t believe our entire lighting setup cost less than $100!
Plants and Greenery
Plants soften the hardscape and make the space feel alive:
- Container plants: Look for end-of-season perennials that will come back next year.
- Propagate from cuttings: I started several plants from cuttings given to me by friends and neighbors – free plants!
- Herbs as decoratives: My small herb container garden looks beautiful and provides fresh ingredients for cooking.
The terra cotta pots I originally bought looked a bit plain, so I aged them using a simple yogurt and moss mixture. Now, they look like expensive vintage containers for the cost of a snack!
Maintenance Made Easy
A little regular care keeps your DIY patio looking great for years.
Seasonal Care
- Spring: Sweep thoroughly and rinse with a garden hose. Check for pavers that may have shifted during winter freezes.
- Summer: Keep edges trimmed and occasionally rinse to remove dirt and debris.
- Fall: Clear leaves promptly to prevent staining and slippery surfaces.
- Winter: Avoid using metal shovels on pavers if clearing snow; use a plastic shovel or broom instead.
I set a calendar reminder every three months for basic patio maintenance. It takes just 30 minutes but keeps everything looking fresh and prevents bigger problems.
Quick Fixes
Even the best DIY patios might need minor repairs:
- Uneven pavers: Simply lift the paver, add or remove sand underneath, and replace.
- Weed breakthrough: A mixture of vinegar, salt, and dish soap makes an effective and eco-friendly weed killer.
- Stains: For organic stains like leaf marks or food spills, try a paste of baking soda and water before resorting to chemical cleaners.
My daughter spilled a berry smoothie on our new patio last summer. I panicked until I remembered the baking soda trick – it lifted the stain completely without damaging the pavers.
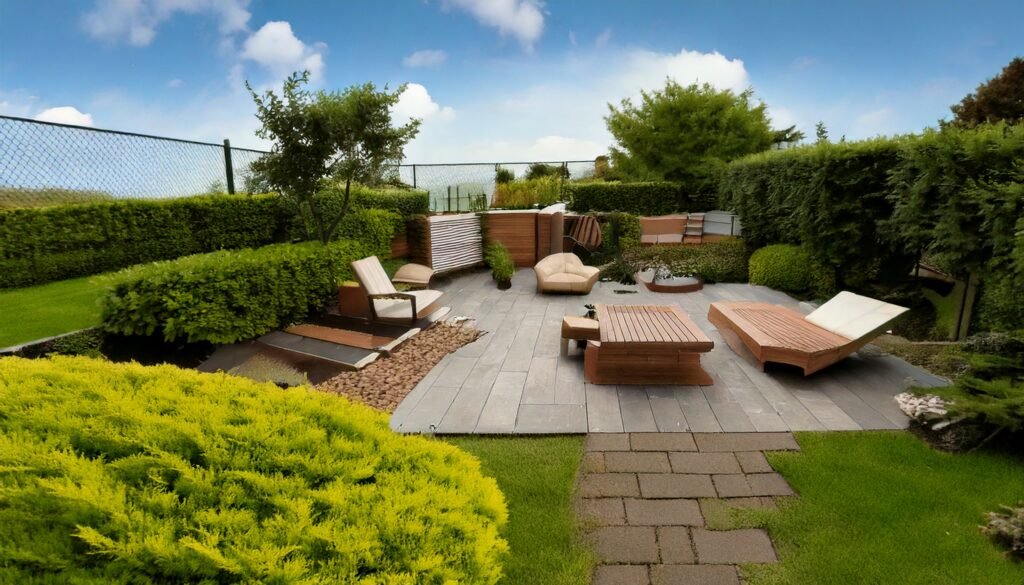
Conclusion: Enjoy Your Backyard Transformation
Building my DIY patio was one of the most satisfying home projects I’ve undertaken. Yes, there were moments when my back ached, and I questioned my sanity, but that first evening sitting on our new patio with string lights twinkling overhead made it all worthwhile.
Your DIY backyard patio isn’t just a place – it’s an experience you’ve created with your own hands. Each imperfection tells a story, and the money saved can go toward making more memories in your new outdoor space.
Ready to start your backyard transformation? Begin planning this weekend – measure your space research materials and start gathering tools. By this time next month, you could be enjoying sunset drinks on a patio you built yourself!
I’d love to see your DIY patio projects! Share your before-and-after photos in the comments below or tag us on social media with #MyDIYPatio.
Frequently Asked Questions
How long does it take to build a DIY patio? For a standard 10′ x 12′ patio, expect to spend 2-3 weekends on the project. The largest time investment is in the site preparation and base construction. The actual paver installation goes surprisingly quickly once you get into a rhythm.
Do I need special skills to build a patio myself? Not at all! If you can use a shovel and follow a level, you can build a patio. The techniques are straightforward, and there are plenty of online tutorials for visual learners. The most important qualities are patience and willingness to prepare the site properly.
How much money can I save by building a patio myself? Significant savings! Professional patio installation typically runs $15-25 per square foot. DIY installation usually costs $6-10 per square foot, saving you 50-70% on your project. My 12′ x 14′ patio would have cost around $4,000 professionally but cost me just under $1,200 to build myself.
What’s the biggest mistake people make when building DIY patios? Rushing through the base preparation. A properly excavated, level and compacted base prevents future headaches like uneven settlement and shifting pavers. Spend extra time getting this right!
Can I build a patio over the existing concrete? Yes! This can actually be easier than starting from scratch. Ensure the concrete is in good condition without major cracks, clean it thoroughly, and use a thin layer of sand before laying pavers. This approach can save significant time and effort.
How do I prevent weeds from growing between my pavers? Use landscape fabric under your patio during construction, choose polymeric sand for the joints, and apply a paver sealer after completion. These three steps create a nearly weed-proof installation that requires minimal maintenance.
Is it better to use concrete or pavers for a DIY patio? Both have advantages. Concrete is typically less expensive and provides a seamless surface, but proper installation is required to prevent cracking. Pavers cost slightly more but are easier for DIYers to install correctly and can be individually replaced if damaged. I chose pavers for the forgiving nature of the installation and the classic look.