
Introduction
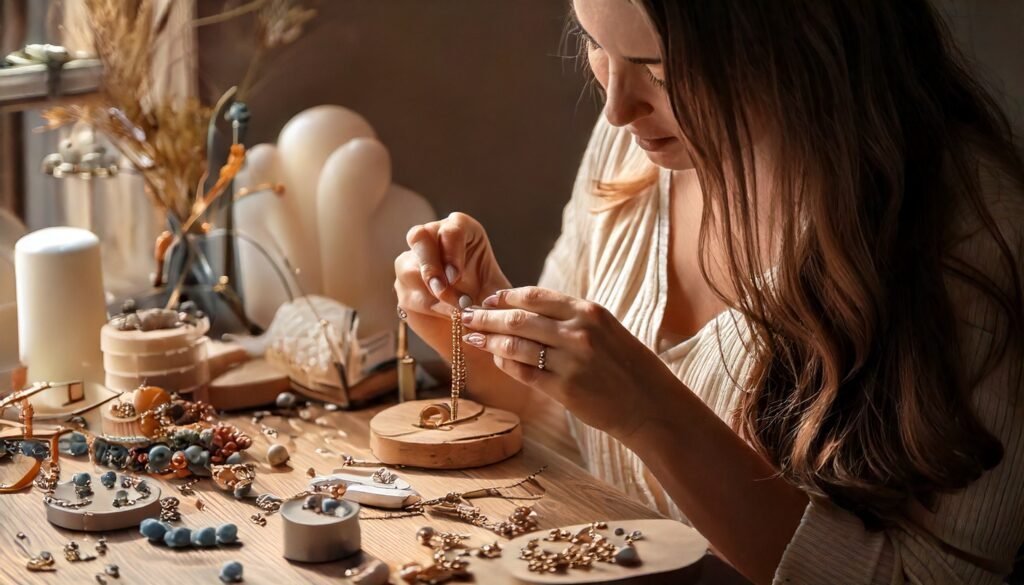
Remember when you complimented someone’s earrings, and they proudly announced, “Thanks, I made them myself”? That mixture of admiration and slight jealousy is something I know all too well. For years, I’d browse Etsy shops, wondering if I could ever create something so beautiful with my own hands. It turns out that with some basic tools and a bit of patience, anyone can start making gorgeous handmade jewelry.
Handmade jewelry making isn’t just a creative outlet—it’s a way to express your personal style without breaking the bank. Whether you’re looking to craft unique gifts, start a side hustle, or simply enjoy a relaxing hobby, jewelry-making offers something for everyone. In this guide, I’ll walk you through everything you need to know to begin your DIY jewelry journey, from essential supplies to basic techniques that’ll have you creating wearable art in no time.
Getting Started: Essential Tools and Materials

Before diving into your first project, you’ll need to gather some basic supplies. Don’t worry about buying everything at once—start with these essentials and build your collection as your skills grow.
Basic Tool Kit
Your jewelry-making journey starts with a few key tools:
- Round-nose pliers: These are the workhorses of jewelry making. I use mine to create loops and bends in the wire.
- Flat-nose pliers: Perfect for gripping and holding small components while you work.
- Wire cutters: Essential for trimming wire and headpins cleanly.
- Ruler or measuring tape: Precision matters when making matching pieces!
- Beading mat or towel: This prevents beads from rolling away. (I learned this the hard way after spending 20 minutes hunting for tiny beads under my couch.)
Starter Materials
For your first few projects, consider these materials:
- Beading wire: A flexible, nylon-coated wire that’s perfect for stringing beads.
- Memory wire: Pre-coiled wire that maintains its shape—great for beginner bracelets.
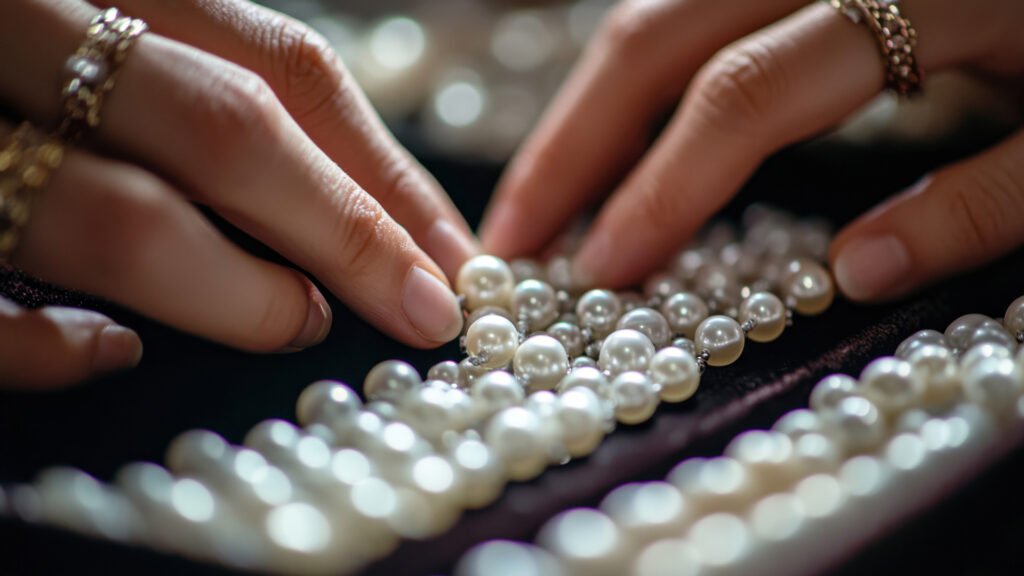
- Assorted beads: Glass, wood, or plastic beads in various sizes and colors.
- Crimp beads: Tiny metal beads that secure your stringing wire.
- Clasps and jump rings: These finishing components connect the ends of your jewelry.
When I first started, I bought a basic jewelry-making kit from my local craft store. It wasn’t fancy, but it included enough supplies to make several pieces while I figured out what styles I enjoyed most.
Basic Techniques for Beginners
Let’s start with a few fundamental techniques that form the foundation of jewelry making.
Simple Stringing
The easiest way to begin is with basic stringing:
- Cut your beading wire about 2 inches longer than your desired finished length.
- Attach a clasp to one end using a crimp bead. (Tip: Thread the wire through the clasp, back through the crimp bead, and squeeze the crimp with flat-nose pliers.)
- String your beads in your desired pattern.
- Secure the other end with another crimp bead and the other half of your clasp.
My first strung bracelet looked nothing like the picture I was following, but I wore it proudly anyway. Your early pieces don’t need to be perfect—they’re part of your learning process.
Wire Wrapping Basics
Wire wrapping intimidated me at first, but it’s actually quite forgiving for beginners:
- Cut about 3 inches of wire with your wire cutters.
- Create a small loop at one end using your round-nose pliers.
- Thread on a bead.
- Using the round-nose pliers again, create another loop on the opposite end.
- Wrap the excess wire around the stem below each loop for security.
These simple wire-wrapped beads can become earrings, necklace pendants, or bracelet charms.
Popular Beginner Projects
Now that you understand the basics, here are three easy projects that yield impressive results:
1. Memory Wire Bracelet
My first successful project was a memory wire bracelet:
- Cut a loop of memory wire with heavy-duty wire cutters.
- Create a small loop at one end using round-nose pliers.
- String beads along the wire, mixing colors and sizes as desired.
- Finish with another small loop at the opposite end.
The pre-coiled nature of memory wire means no clasps to fiddle with, and the result looks much more complex than the effort required!
2. Simple Drop Earrings
These elegant earrings require minimal supplies:
- Open the loop of an earring hook using flat-nose pliers.
- Attach a headpin with a bead already wire-wrapped (using the technique above).
- Close the loop on the earring hook.
- Repeat for the second earring.
I made a pair of these for my sister using her favorite color beads, and she still wears them regularly—a true confidence boost for a beginner!
3. Layered Necklace
Create a sophisticated look with this simple technique:
- Make 2-3 strands of beaded wire in varying lengths.
- Use jump rings to connect all strands to a single clasp set.
The varying lengths create depth and interest, while the uniformity of materials keeps it cohesive.
Common Mistakes and How to Avoid Them
We all make mistakes when learning something new. Here are a few I’ve made so you don’t have to:
- Using the wrong tools for cutting memory wire: Regular wire cutters will get damaged. Invest in heavy-duty cutters specifically for memory wire.
- Forgetting to measure twice: Nothing’s more frustrating than finishing a necklace only to realize it’s too short to fit over your head. Always measure against your body or a piece you already own.
- Crimping beads incorrectly: If you don’t squeeze crimp beads firmly enough, your creation will fall apart. Practice the technique a few times before working on a complex piece.
- Overlooking finish quality: Check for sharp wire ends that might catch on clothing or scratch skin.
Where to Find Inspiration
When I hit a creative wall, these sources never fail to inspire me:
- Pinterest boards: Create collections of styles you love.
- Local bead shops: Seeing materials in person often sparks ideas.
- Craft fairs: Talk to other jewelry makers about their processes.
- Nature: Some of my favorite color combinations come from flowers, sunsets, or even interesting rocks.
Don’t be afraid to start by imitating styles you admire—with time, your unique aesthetic will emerge.
Taking Your Skills Further
Once you’ve mastered the basics, consider exploring:
- Metal stamping: Personalize metal components with words or designs.
- Resin work: Create unique pendants by embedding objects in clear resin.
- Macramé: Incorporate knotting techniques for a bohemian look.
- Precious metal clay: Shape, fire, and finish real silver or gold without traditional metalsmithing equipment.
I started with simple stringing but found my passion in combining wire wrapping with natural stones. Your journey might lead you somewhere completely different—that’s the beauty of this craft!
Conclusion

Starting your handmade jewelry-making journey doesn’t require extraordinary skill or expensive equipment—just curiosity and willingness to learn. Your first pieces might not be perfect, but each project teaches you something new and brings you closer to developing your signature style.
Remember that handmade jewelry is special precisely because it’s not mass-produced. Those tiny “imperfections” are what make your creations unique and personally meaningful. So gather your supplies, carve out some creative time, and enjoy the satisfaction of saying, “Thanks, I made it myself!”
Ready to start creating? I’d love to see what you make—share your beginner projects in the comments below!
FAQs About Handmade Jewelry Making
Q: How much should I expect to spend on basic jewelry-making supplies? A: A basic starter kit with essential tools and some materials can range from $25-$50. You can then add specific beads and findings as needed for individual projects.
Q: Do I need special training to make jewelry? A: Not at all! While formal classes can be helpful, many beginners learn successfully through online tutorials, books, and practice.
Q: How long does it take to make a piece of jewelry? A: Simple projects like basic bracelets or earrings can take 15-30 minutes once you’re familiar with the techniques. More complex pieces might require several hours.
Q: Where’s the best place to buy jewelry-making supplies? A: Local craft stores like Michaels or Joann Fabrics, dedicated bead shops, and online retailers like Fire Mountain Gems or Etsy all offer great options for beginners.
Q: Can I make jewelry to sell? A: Absolutely! Once you’ve refined your skills, handmade jewelry can become a rewarding side business. Just be sure to check local regulations regarding sales tax and business licenses.